
Add to Cart
What is Luxury Vinyl Tile Flooring?
To go the extra mile in understanding it, let’s take a look at how it’s made. It is manufactured through the following five primary processes.
1. Research and Development
From the beginning, research and development teams aim to simulate
and evaluate new innovative concepts through trial and error. Large
amounts of raw materials are mixed so that the team can study their
interactions. The raw materials used in the production of LVT
include polyvinyl chloride resins (PVC) and calcium carbonate. Once
the team has a satisfactory compound to work with, it is ready to
begin the calendering process.
2. Production Operation
Make sure base layer,wear layer and print film are in the right
place.Set machine's temperature and other process datas.Production
begins.
Preserved through 24-48 hours,go through water cooling and UV coating.
UV layer:Ensure superior stain-resistant and water-proof performance,saving maintenance costs.
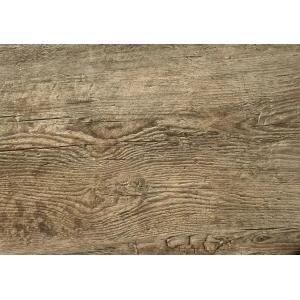
Decoration layer:Regardless of natural wood or stone structure,we offer a variety of pattern choices that will better showcase your personality.
| Vinyl planks&tiles | ||||
| Size | Thickness (mm) | Wear layer (mm) | Weight | Packing |
Planks 6'x36'(139.4mmx914.4mm) 6'x48'(139.4mmx1219.2m) 8'x48'(228.6mmx1219.2mm | 2.0 | 0.07 | 13kgs/box | 3.3sqms/box,84boxes/plt,20plts/ctnr |
| 0.15 | ||||
| 0.20 | ||||
| 2.5 | 0.20 | 15kgs/box | 3.3sqms/box,72boxes/plt,20plts/ctnr | |
| 0.30 | ||||
| 0.50 | ||||
3.0 | 0.30 | 18.5kgs/b0x | 3.3sqms/box,60boxes/plt,20plts/ctnr | |
| 0.50 | ||||
Quality control
Wear resistance test of PVC floor: Our floor reach Wear resistance P level or T level.
Installation Steps
1. Ensure the room’s length and width to determine if the first row
will need to be cut.
2. Cut off the unsupported tongue of the first row so that a clean,
solid edge is toward the wall.
3. Start installation from the conner of the wall . Tongue side
must start facing the wall and it is careful to leave 10mm
expansion space. Install the planks from left side to right side.
4. Install the next plank in the first row by angling the short
side tongue into the short side of the first plank. Shift the plank
down towards the end seam and lightly lift the previous plank in
order to engage the end joints together.
5. Use the same method to complete the installation of the first
row.
6. Place the short end tongue of the next floor panel at an angle
against the previously installed floor panel and fold gently down.
7. Using gentle force and at an angle, you gradually, from left to
right, push the long side tongue into the locking groove of the
previous row.
8. Complete the whole row in the same way.
For quick respons please feel free to find us through wechat/whatsapp:+86-13057223323
Email:sales@wellful-vinyl.com
